Three-Point Lighting: Illuminating Your Visual Story
Create visually captivating scenes and illuminate your subjects strategically with the three-point lighting method.

Lights, camera, action! Lighting is a crucial aspect of visual storytelling, whether you're shooting a film, capturing a photograph, or creating video content. One technique that has stood the test of time in the world of cinematography is the three-point lighting method. This tried and true approach involves strategically placing three light sources to properly illuminate your subject and create a visually captivating scene.
In this comprehensive guide, we will explore the ins and outs of three-point lighting, from understanding its core components to mastering its implementation. So grab your light stands and let's dive into the world of cinematic illumination!
What is Three-Point Lighting?
At its core, Three-Point Lighting is a technique that utilizes three distinct light sources to illuminate a subject and create depth and dimensionality. The three lights used in this setup are the key light, the fill light, and the backlight. Each light serves a specific purpose in shaping the overall look and feel of the scene.
🔴The Key Light: Shining a Spotlight on Your Subject
The key light is the primary light source in the three-point lighting setup. It provides the majority of the illumination on your subject and sets the overall tone of the scene. Positioned at a 45-degree angle from the camera, the key light casts shadows on one side of the subject's face, adding depth and dimension. It is essential to strike the right balance with the key light, ensuring it is bright enough to properly illuminate the subject while avoiding a flat and unflattering appearance.
🔴The Fill Light: Filling in the Shadows
The fill light complements the key light by filling in the shadows created by the key light. It is placed on the opposite side of the camera from the key light, illuminating the other side of the subject's face. The fill light should be less intense than the key light, maintaining a contrast that highlights the subject's features while still providing enough light to minimize harsh shadows. The fill light helps create a more balanced and pleasing aesthetic, ensuring that important details are visible to the viewer.
🔴The Backlight: Adding Depth and Separation
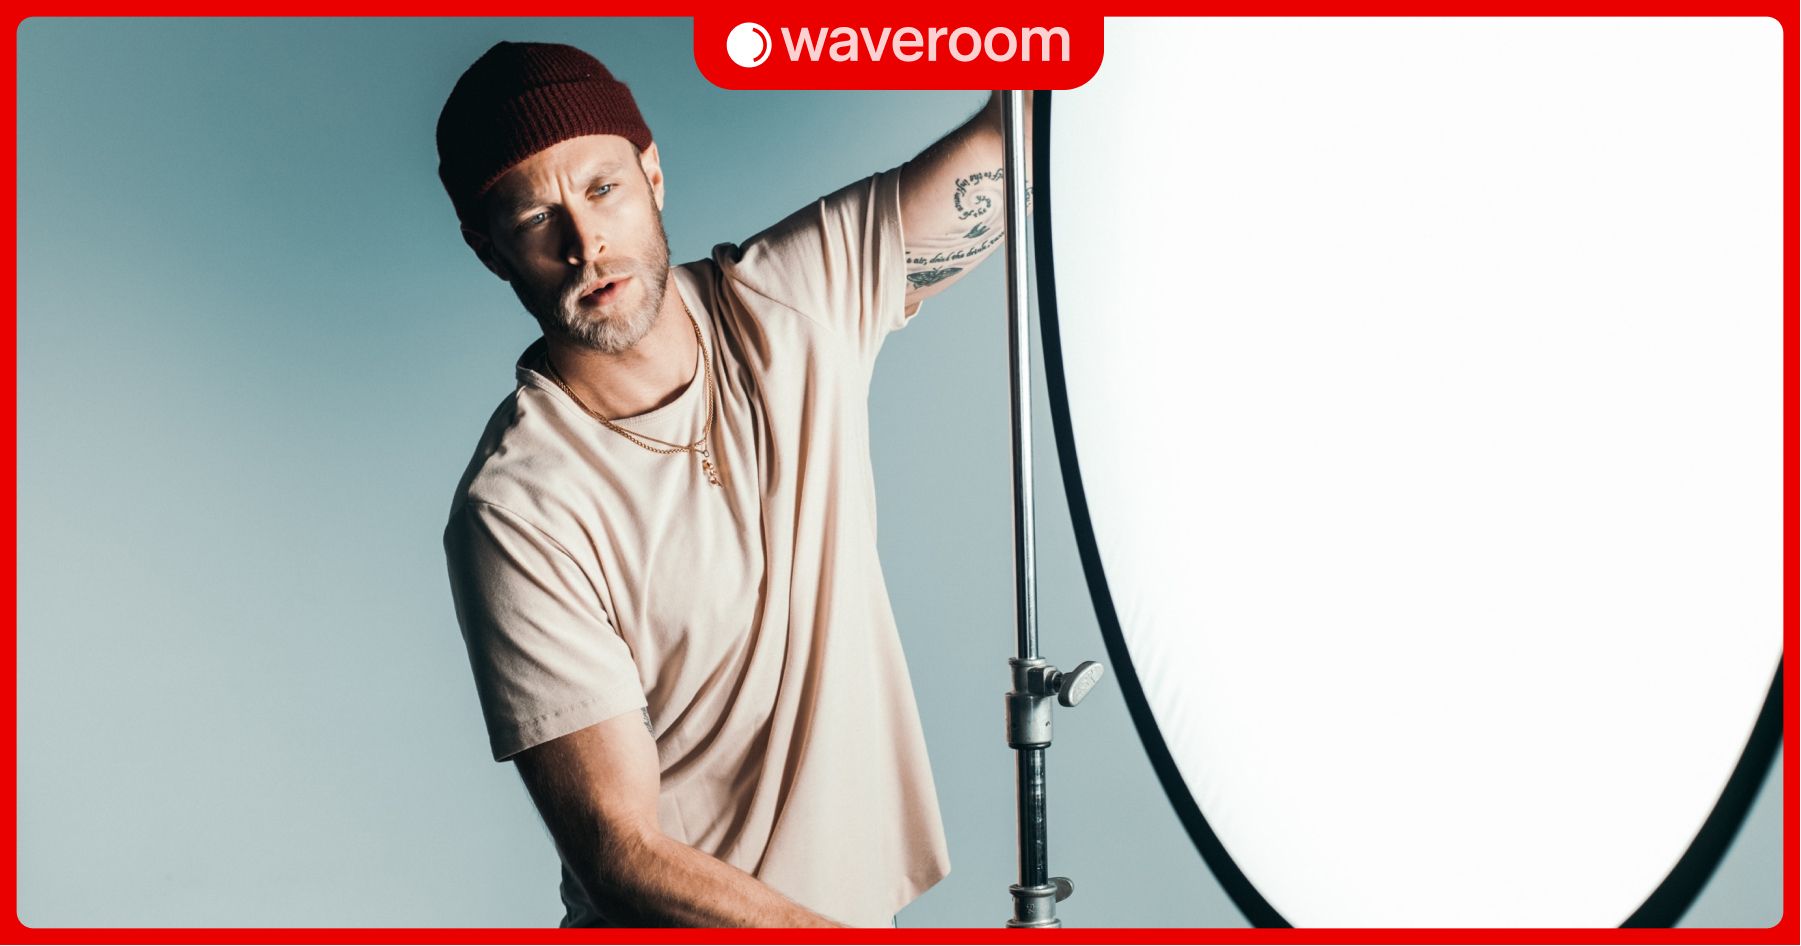
The backlight, also known as the rim light, hair light, or kicker, is positioned behind the subject, out of the frame. Its purpose is to create a rim of light around the subject, separating them from the background and adding depth to the scene. The backlight helps create a three-dimensional effect, making the subject stand out and adding a touch of visual interest. Careful positioning of the backlight can create a halo effect or beautifully highlight the contours of the subject, enhancing their overall presence on screen.
Setting Up Three-Point Lighting: A Step-by-Step Guide
Now that we understand the core components of three-point lighting, let's dive into the practical steps of setting up this technique. Follow these guidelines to achieve optimal lighting for your visual storytelling projects.
Step 1: Prepare Your Set
Before diving into the lighting setup, it's important to prepare your set. Start by turning off any existing lights or sources of ambient light to have full control over your lighting environment. This will help you maintain consistency and achieve the desired lighting effects.
Step 2: Position the Key Light
Begin by setting up the key light, which will be the most prominent light source in your setup. Position the key light at a 45-degree angle from the camera, shining onto the subject. Experiment with the angle and intensity of the key light to achieve the desired aesthetic and mood for your scene. Keep in mind that the key light should not shine directly onto the subject's face, as it can create a flat and unflattering look.
Step 3: Add the Fill Light
With the key light in place, it's time to introduce the fill light. Position the fill light on the opposite side of the camera from the key light, angled towards the subject. The fill light should be less intense than the key light, softening the shadows created by the key light and providing a balanced illumination. Adjust the position and intensity of the fill light to achieve the desired level of contrast and fill in any remaining shadows.
Step 4: Place the Backlight
Now it's time to add the backlight to the setup. Position the backlight behind the subject, either above or below them, and aim it towards the back of their neck. The backlight should create a subtle rim of light around the subject, separating them from the background and adding depth to the scene. Experiment with the positioning and intensity of the backlight to achieve the desired effect while avoiding overpowering the subject.
Step 5: Fine-Tune and Test
With all three lights in place, take a moment to fine-tune the positioning and intensity of each light. Pay attention to the overall balance of the lighting and ensure that it enhances the subject while maintaining a visually appealing aesthetic. Test the setup by taking test shots or recording sample footage to evaluate the results and make any necessary adjustments.
Step 6: Customize for Your Scene
While the core principles of three-point Lighting remain constant, it's essential to customize the setup to suit the specific needs of your scene. Consider the mood, tone, and desired visual effects of your story and make adjustments accordingly. You can experiment with the intensity of each light, the placement, and even introduce additional lights or modifiers to achieve the desired look.
Mastering the Art of Three-Point Lighting
Now that you have a solid foundation in the principles and techniques of three-point lighting, it's time to master the art and elevate your visual storytelling. Here are some additional tips and considerations to help you take your lighting skills to the next level:
🔴Experiment with Light Intensity and Ratios
Don't be afraid to play with the intensity of each light source and explore different light intensity ratios. Adjusting the contrast between the key light and fill light can dramatically impact the mood and look of your scene. Experiment with different ratios, such as 2:1 or 1.5:1, to achieve the desired lighting effect.
🔴Consider the Color Temperature
In addition to intensity, pay attention to the color temperature of your lights. Different light sources may have varying color temperatures, which can affect the overall look and feel of your scene. Be mindful of color imbalances and consider using color gels or adjusting white balance settings to achieve a cohesive and visually pleasing result.
🔴Incorporate Light Modifiers
Light modifiers, such as diffusers and reflectors, can help you shape and control the quality of light in your scene. Diffusers soften harsh light, creating a more pleasing and natural look, while reflectors bounce light to fill in shadows or redirect light for creative effects. Experiment with different modifiers to achieve the desired lighting style and mood.
🔴Utilize Natural Light
While artificial lighting is often necessary for controlled environments, don't overlook the beauty and versatility of natural light. Incorporating natural light into your three-point lighting setup can add a sense of realism and authenticity to your visuals. Consider shooting near windows or in outdoor locations to take advantage of natural light sources.
🔴Adapt to Different Environments
As a visual storyteller, you'll encounter a variety of shooting environments, each with its unique lighting challenges. Mastering three-point lighting allows you to adapt to different settings and achieve consistent and professional results. Whether you're shooting indoors or outdoors, in small spaces or vast landscapes, understanding how to manipulate light will help you create captivating visuals.
Conclusion
Mastering the art of three-point lighting is a fundamental skill for any visual storyteller. By understanding the core components of this technique and practicing its implementation, you can elevate the quality of your work and bring your creative vision to life.
Remember to experiment, customize, and adapt three-point lighting to suit the specific needs of your scenes. With practice and a keen eye, you'll be able to create visually captivating stories that engage and immerse your audience!