How to Do a Voice-Over at Home: A Guide on High-Quality Voice-Over Recording
Best practices, tips, software, and equipment to record a flawless voice-over for your video.
Recording a voice separately from a video is a common practice when making tutorial videos, shooting screencasting guides, and even creating video podcasts. But how to make sure the voice will sound flawless over your pre-recorded video?
A good voice-over can enhance your video value and engagement as it helps with storytelling, instructional guidance, or providing background information.
How to record a high-quality voice-over at home? That’s what this piece is all about.
What is a voice-over?
A voice-over is a production technique in which a voice is recorded and played over a video. Voice-overs are recorded to provide narration, commentary, or additional information to enhance the viewer's understanding of what's being shown.
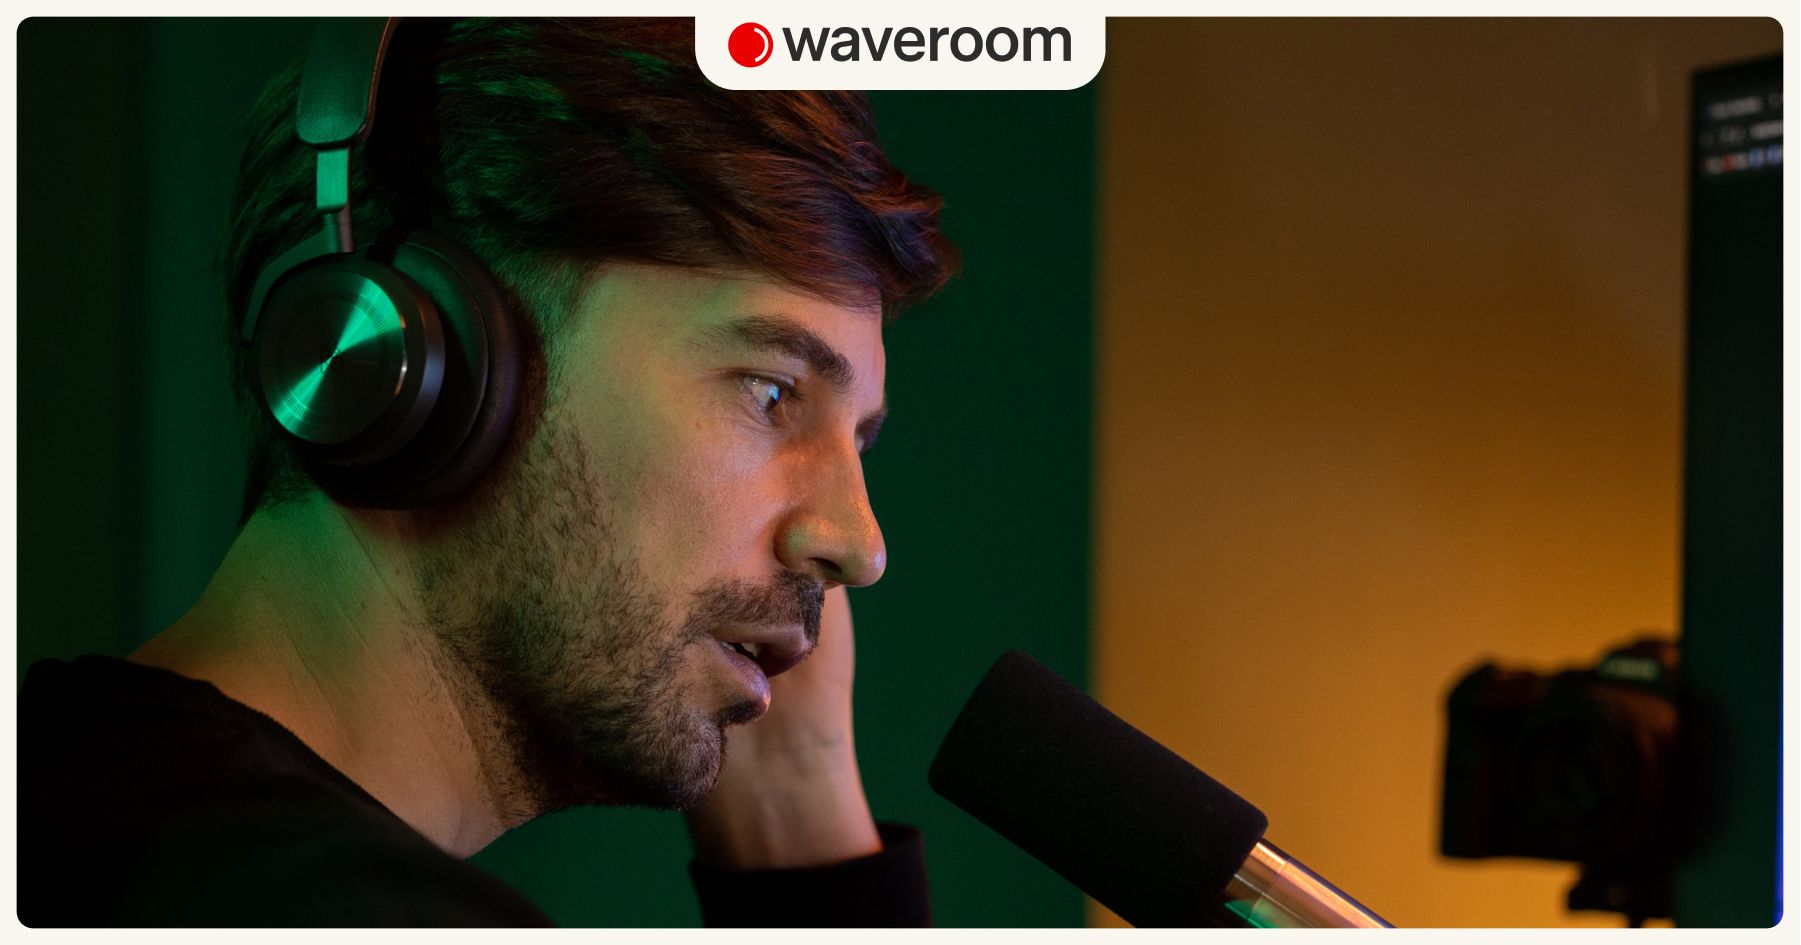
Voice-overs are typically used in films, TV shows, documentaries, commercials, video games, and educational videos. Artists record voice-overs in a studio using special recording equipment to guarantee high-quality sound, but who said you couldn’t record a flawless voice-over at home? You can! The whole trick is to choose the right recording setup.
But first, let’s cover why you should bother with the quality of a voice recording that you’ll place over your video.
How to record a voice-over with Waveroom
Waveroom captures audio in high quality even if the Internet connection is unstable or lost during the session. With Waveroom, the audio is recorded at 48 kHz and is delivered in uncompressed WAV.
Follow the steps below to record a voice-over for a video.
- Log in or sign up to your Waveroom account.
- Click the Create a Room button. The room will be your virtual recording studio.
- Enter the name of your room at the top of the page.
- Connect a microphone to your computer. It will help you get top-notch quality results.
- Select your Audio and Record preferences under the video preview.
- Click the Start Now button to open your room.
- Click the Start Recording button when you’re ready to start the voice-over.
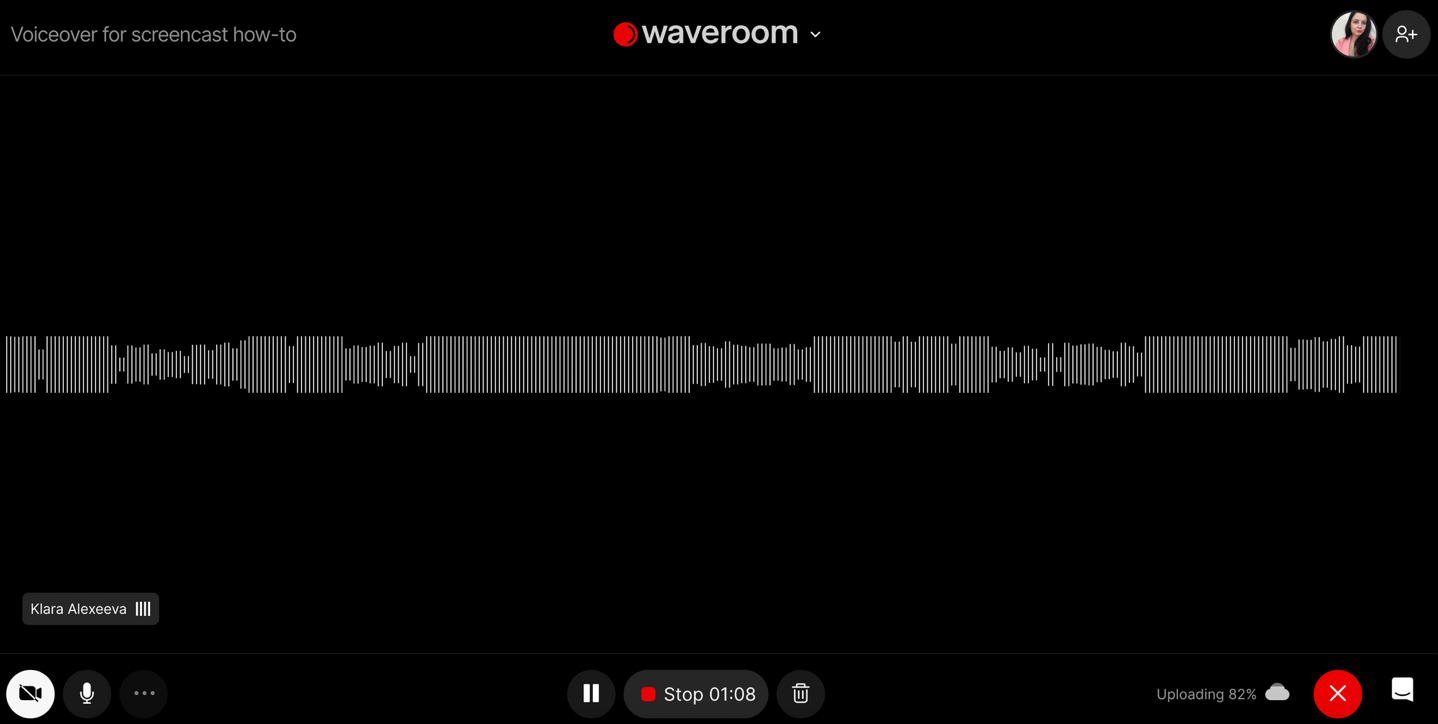
8. Once the recording is over, click the hang-up phone button to end the session.
9. Wait a few seconds while the session recording is saving.
10. Click the All Rooms button at the upper left corner of the page.
11. Click the room that you’ve been in. Here you can download the locally recorded audio files.
That’s it! Now you can edit the voice-over if needed and add it to your video.
Why is a quality voice-over important for your video?
In our age of such massive competitiveness among creators, it’s vital to provide audiences with quality content to retain them because if you won’t, other creators will. Except that it's nice to listen to high-quality voice-overs, here are other reasons why it's worth putting some effort into recording them.
- Clarity and comprehension.
A clear and well-articulated voice-over ensures that the audience can easily understand the information being conveyed. It helps avoid confusion or misinterpretation of the content.
- Engagement.
A skilled voice actor can captivate the audience and hold their attention throughout the video. They can bring life to the script by adding emotional nuances, variations in tone, and pacing, as well as help maintain the viewer's interest.
- Branding and personality.
The voice-over is an extension of your branding as it showcases your brand's tone and style. A well-matched voice can create a consistent and recognisable brand image across all channels where you share the videos. Whether you want a video to sound authoritative, friendly, or humorous, a quality voice-over can reinforce your brand identity.
- Emotional impact.
If you want to evoke emotions and create a connection with your audience by making videos, voice-over is a great way to do that as well. Through tone, intonation, and delivery, a skilled voice actor can elicit specific emotional responses such as excitement, empathy, or curiosity. Emotional resonance helps to create a more memorable and impactful video.
- Professionalism and credibility.
High-quality production, including a professional voice-over, contributes to the overall credibility. A poorly executed or amateurish voice-over can undermine the perceived quality of the video and the credibility of the information being presented. A high-quality voice-over, in turn, brings experience and expertise.
How to record a quality voice-over? Best practices
What can be easier than just speaking to a microphone? Well, creating a voice-over is not as simple as it may seem at the beginning. Good articulation, pronunciation, and proper recording equipment are just a few facets that turn regular blah-blah into a professionally recorded voice-over.
Take this advice into consideration if you want your voice to sound perfect in the video.
Write a script
No equipment or articulation can ensure the quality of the voice-over if you don’t have a well-prepared script. Hemming, hawing, umms, errs, and things you can’t remember to say next can ruin the whole thing, even with the best equipment. To make sure everything goes just as planned, prepare a script, either word-for-word or the one that highlights the points you’re going to say.
A script saves you from forgetting things, hesitation pauses, and meandering off into topics that you weren’t about to talk about. Besides, you can read the script before recording to spot flaws, as the text might feel different when you read it aloud.
Choose a quiet recording environment
Find a quiet room or space with minimal background noise to record your voice-over. Avoid areas with echoes, air conditioning noise, traffic sounds, or other distractions that can affect the audio quality. You should also treat your room acoustically: Use blankets, rugs, towels, clothes, or rugs as acoustic treatments and place them on flat surfaces.
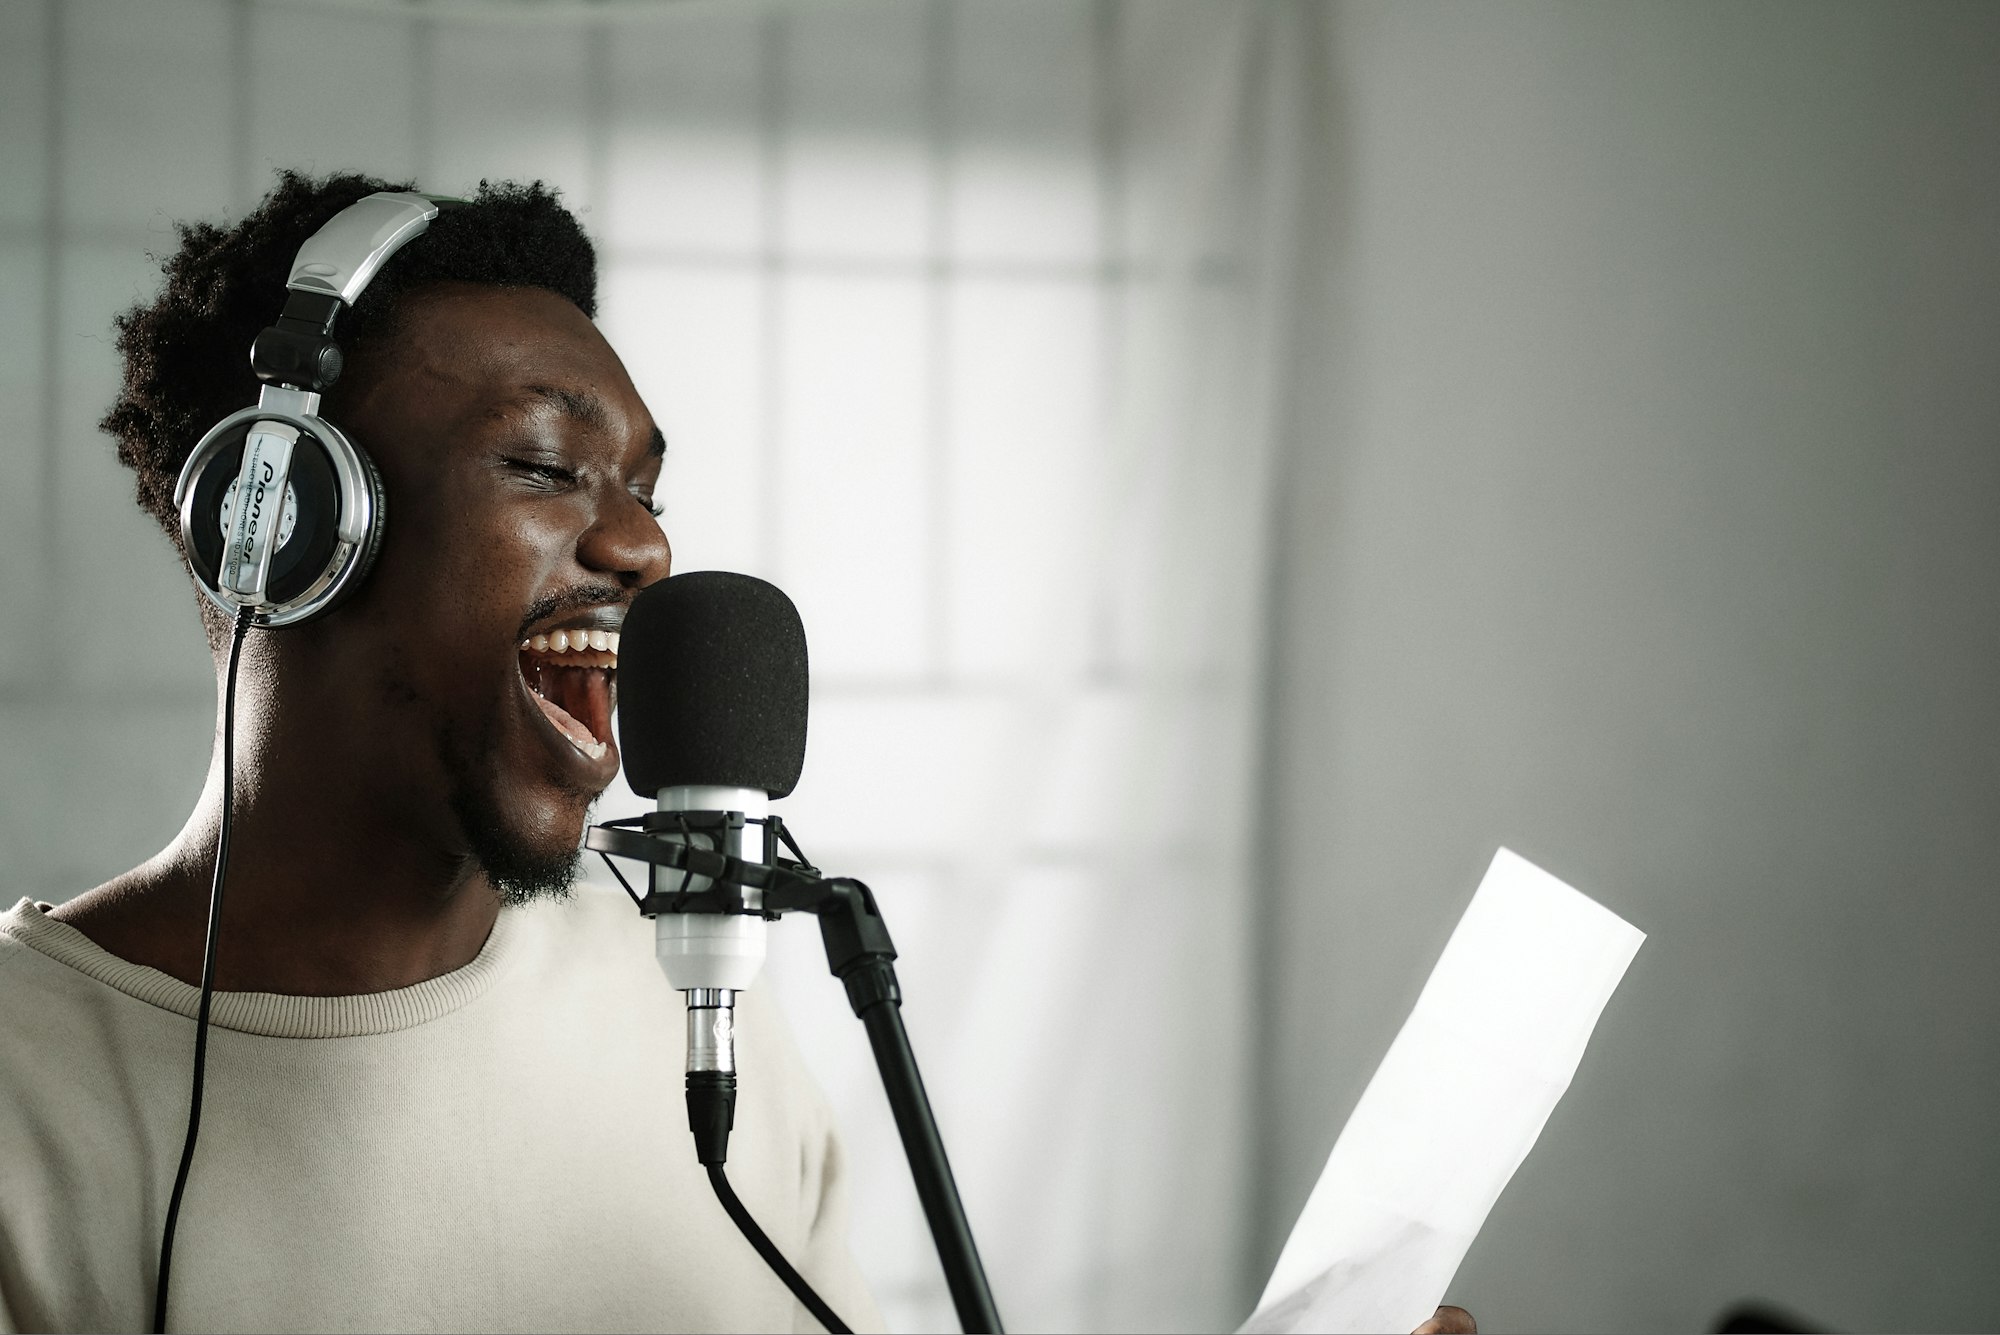
Use a professional microphone
Invest in a pro microphone suitable for voice recording. A condenser mic is often preferred for voice-overs due to its sensitivity and ability to capture detailed vocal nuances. USB or XLR microphones with an audio interface can be used depending on your setup and budget.
Minimise plosives & mouth noises with pop filters
Plosives are the strong bursts of air that occur when pronouncing certain sounds like "p," "b," or "t." To minimise them, use a pop filter or a foam windscreen in front of the microphone. Additionally, stay hydrated and avoid mouth noises like lip smacks or clicks.
Maintain proper mic technique
Position the microphone at an appropriate distance from your mouth. Generally, a distance of 6-8 inches (15-20 cm) works well to achieve a balanced sound. Experiment with mic placement to find the optimal position that captures your voice clearly and minimises unwanted room reflections. Maintain a consistent position in relation to the microphone throughout the recording. Moving closer or farther away from the mic during a session can result in inconsistent audio levels and quality.
Monitor & control audio levels
Use headphones to monitor the audio levels while recording to ensure consistent volume and avoid clipping or distortion. Adjust the microphone gain or input levels on your audio interface to avoid audio that is too quiet or too loud. Aim for a healthy level where your voice is clear and not peaking into the red zone.
Warm up your voice
Prior to recording, warm up your voice by doing vocal or speaking exercises to loosen your vocal cords and improve clarity and range. This helps to ensure a more natural and smooth narration. Even singing might help!
Work on articulation
A good voice-over artist should have clear and articulate speech. Each word and sentence should be pronounced accurately to ensure the audience can understand the message without any difficulty.What's more, poor articulation might affect close captioning and auto-subtitles.
Maintain a good posture & breath control
Stand or sit up straight and maintain good posture while recording. Proper breathing techniques, such as diaphragmatic breathing, can help control airflow and provide better vocal support, resulting in a more stable voice-over.
Mind pace & timing
The pacing and timing of the voice-over should match the content and the visuals of the video. You should have a good sense of rhythm, knowing when to speed up or slow down to maintain the audience's engagement and effectively convey the intended meaning.
Emotional range & expressiveness
A skilled voice-over artist can convey emotions through their voice. You need to know how to adjust your tone, inflexion, and emphasis to match the mood and atmosphere of the video. This ability to express a wide range of emotions helps create a more engaging experience for the audience.
Consistency throughout all videos
If the voice-over represents a brand or character, it should align with the brand's personality or the character's traits consistently. Maintaining a consistent voice throughout the video or across multiple videos helps establish brand recognition and build a connection with the audience.
Versatility
A good voice-over artist can adapt to different styles and genres. You should be able to deliver a voice-over that suits the specific requirements of the project, whether it's a commercial, narration, character portrayal, or instructional video. Versatility allows you to bring the script to life and cater to a wide range of audience preferences.
Have anything to add? Follow us on Twitter, Instagram, Facebook, and Reddit, and let's talk!