How to Add a Podcast Transcript to Apple Podcasts
Apple Podcasts now allows you to add your own transcripts to podcast episodes. This guide will show you how.
Recently, Apple announced that it introduced auto-generated transcripts for podcasts within the Apple Podcasts app for iPhone and iPad devices. The functionality became available starting with iOS 17.4.
It means that users who have this iOS or newer will have access to transcripts of your podcast episodes.
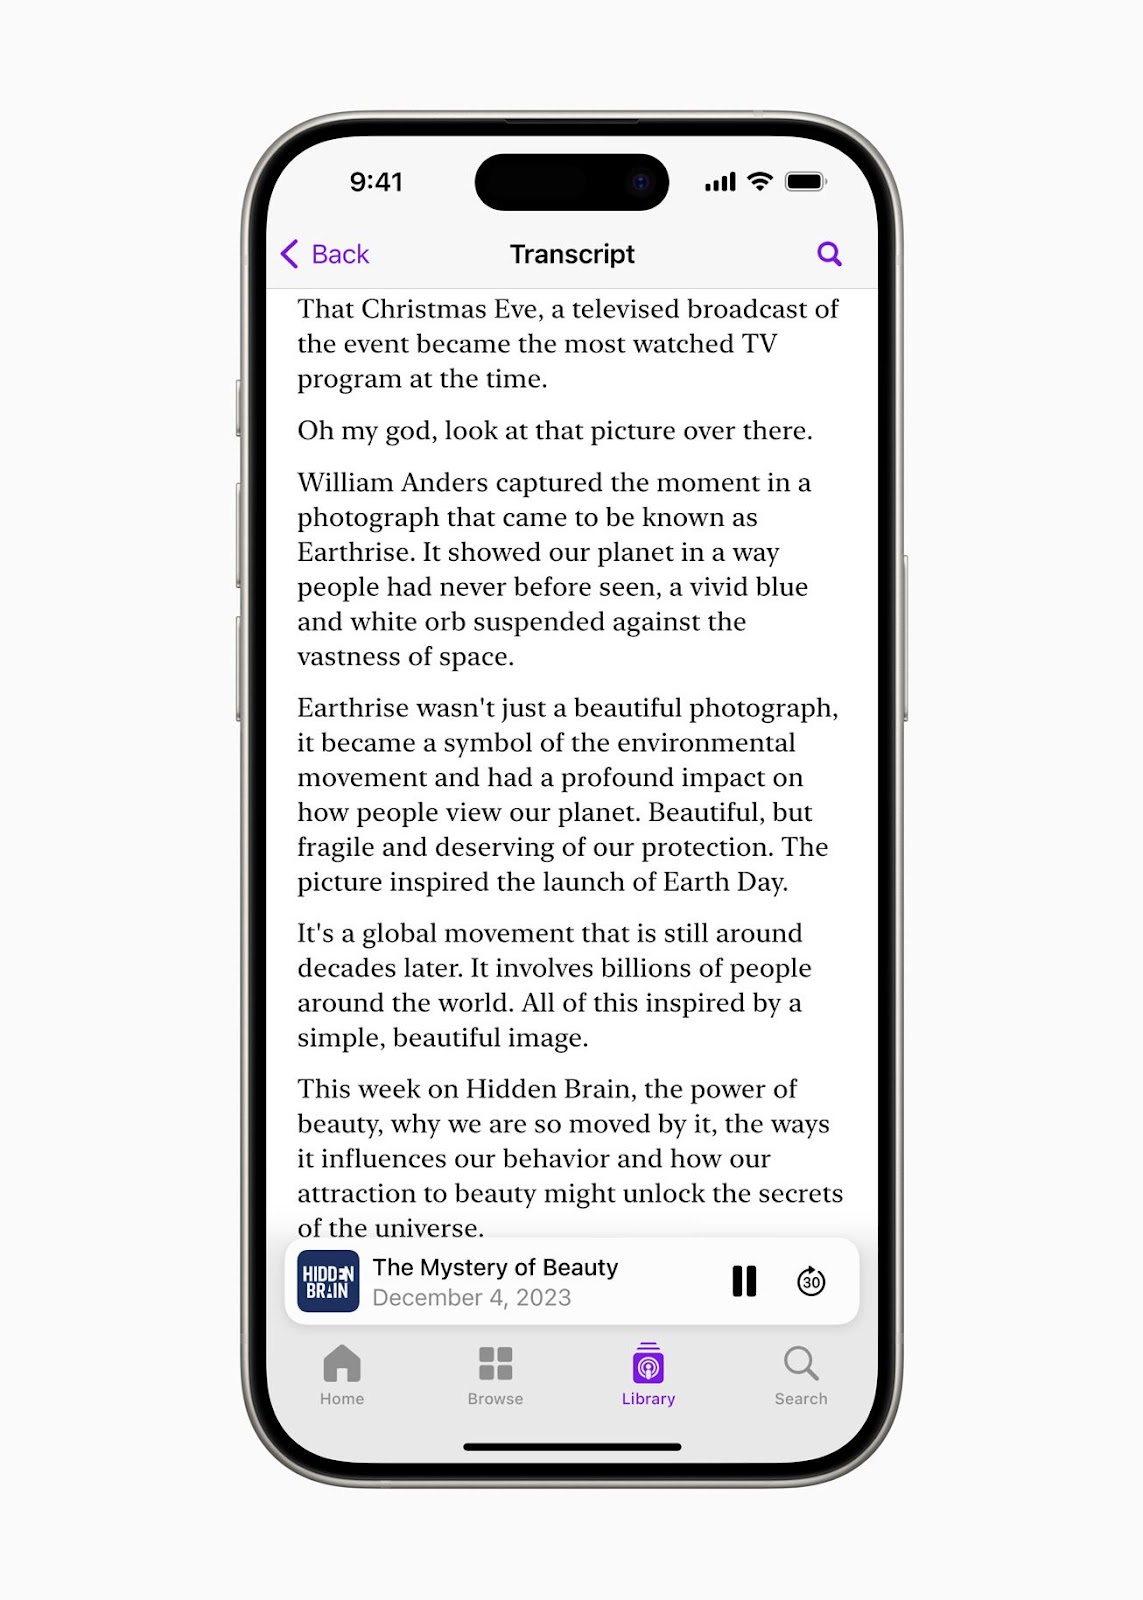
Apple Podcasts automatically generates the transcript of your show shortly after you release it; however, episodes uploaded long ago would also be auto-transcribed over time. These auto-transcripts are basically a full text of a podcast episode. Users can search for specific words in the text and tap on the phrase to play the episode from that point. When your listener plays a podcast episode, each word is highlighted. To find transcripts, they need to head over to the bottom-left corner of the Now Playing screen.
Transcripts will be available in over 170 countries in English, French, German, and Spanish languages. But they won't be translated from one language to another.
The best part is that you don’t have to rely on auto-generated transcripts but upload your own transcription instead. You can do it via RSS tags or through Apple Podcasts Connect. Here’s what we’ll talk about in this article.
How to add your own podcast transcript to Apple Podcasts
First, start with creating this transcript. Here’s where Waveroom steps in. Waveroom is an all-in-one solution when it comes to recording podcasts and transcribing them right away. This online podcast recording studio powered by AI will precisely capture everything you and your guests say and create an SRT file with the transcription.
The tool is available for free (totally free!), so you can record up to a 120-minute show, transcribe it, and remove background noise from it right in a single session.
- Log in to Waveroom.
- Choose your best mic, camera, and headphones in the Devices tab under the video preview.

3. In the AI tab, toggle on Remove Noise and Transcribe Speech. The transcription feature doesn't work unless noise removal is applied.
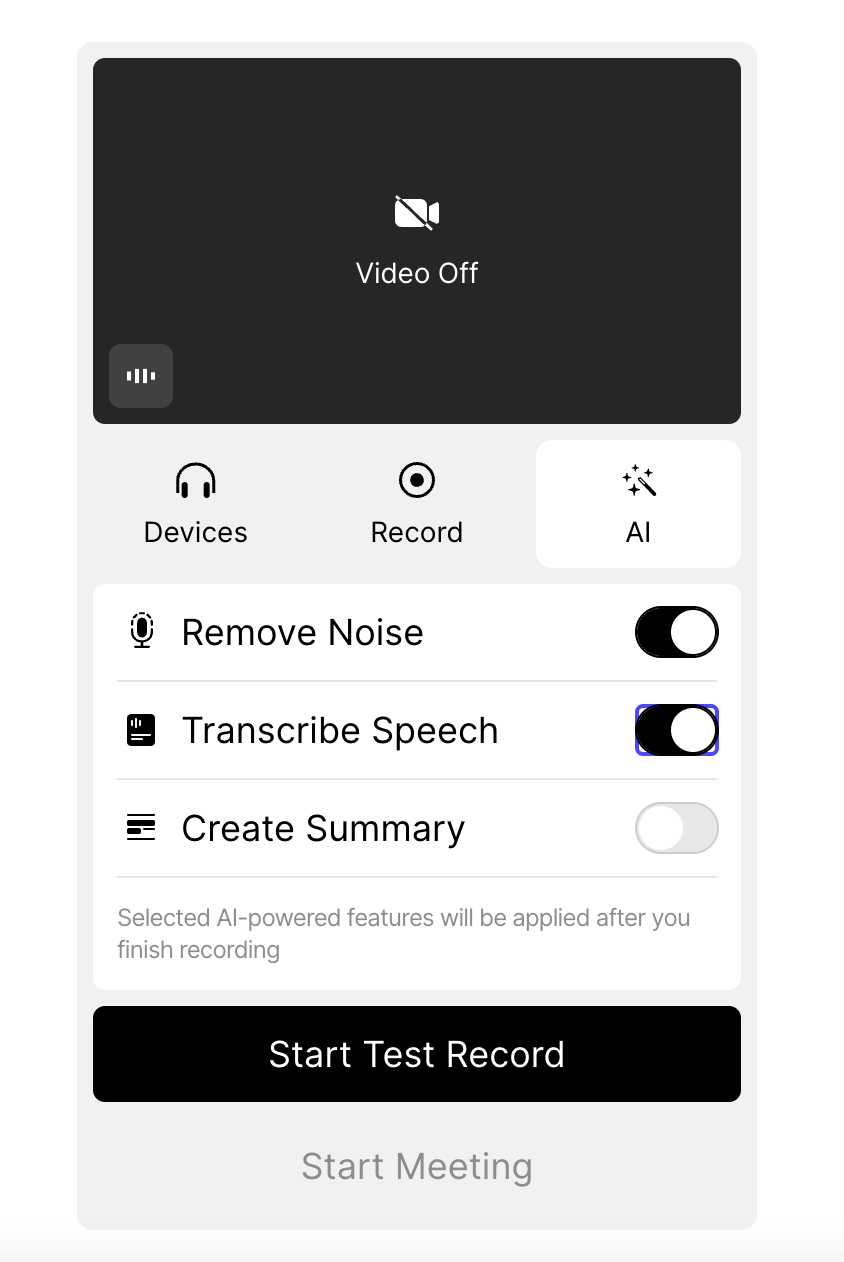
4. Tap the Start Meeting button to open your recording room. If you want to test it first, choose Start Test Record.
5. Click the Record button when you’re ready to start recording.
6. When you finish, click the Stop button to end the recording.
7. Wait a few seconds while the recording is saving.
8. Once you see the Upload Completed notification at the bottom right corner, click X to leave the meeting.
9. Get back to the Room and wait until Waveroom removes background noise from your recording and then transcribes it. The transcribed recording will be marked with a notebook icon that says "transcription applied."
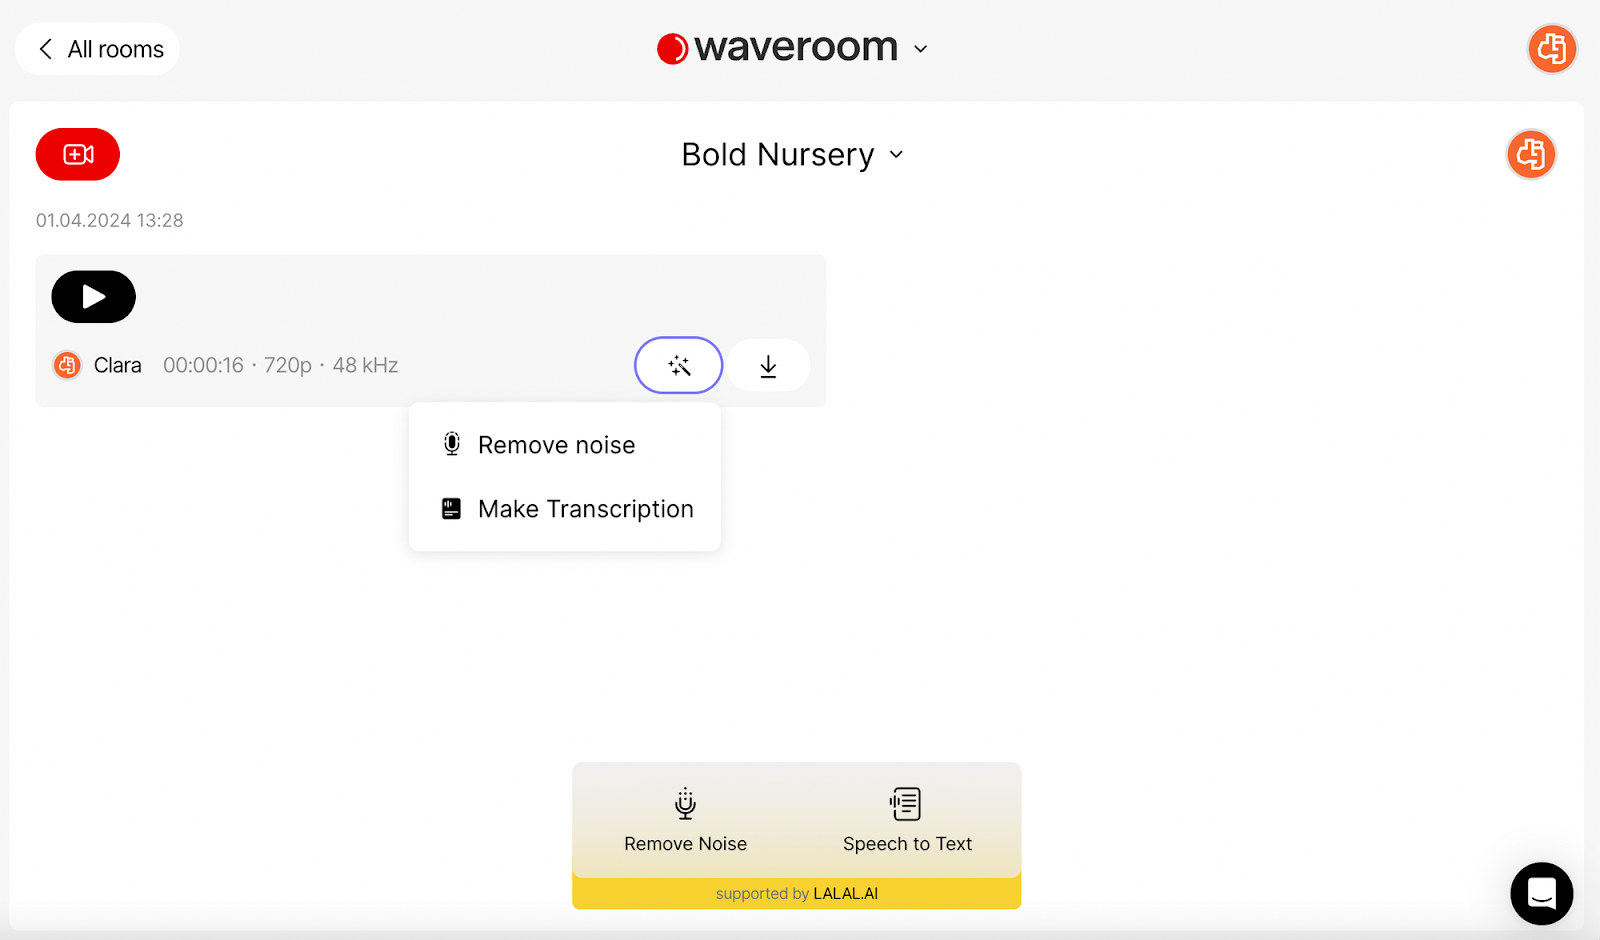
10. Click the downward arrow icon and select Transcription to save the transcript. It will be downloaded in SRT.


11. Open the file in any text editor of your choice.
12. Convert an SRT file to VTT because Apple Podcasts prefers this format. You can do that with converting tools like GoTranscript or Ebby.co.
Now, it’s time to upload the transcription file to Apple Podcasts.
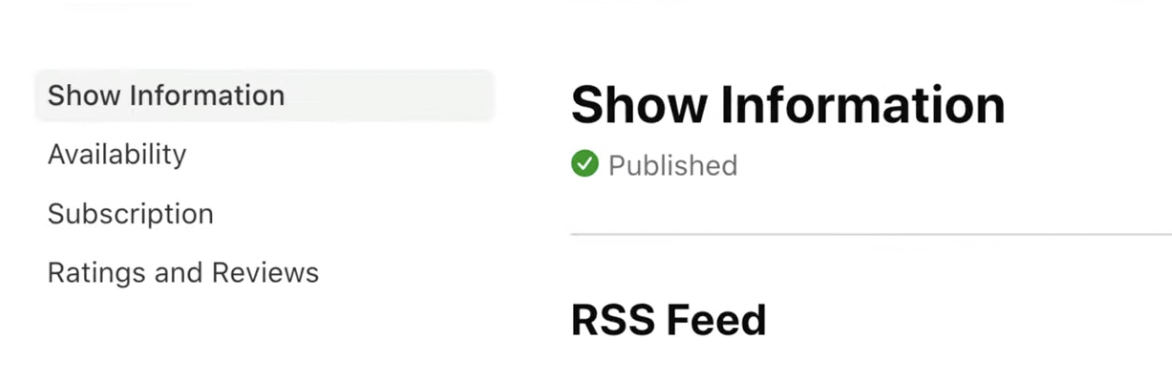
13. Head over to Apple Podcasts Connect and log in.
14. Find the Availability tab and click on it.
15. Scroll down to the Transcripts section and check the option “Display transcripts I provide.”

14. Use the RSS transcript tag <podcast:transcript> which is a link to the episode transcript in the Closed Caption format. You should use this tag when you have a valid transcript file available for users to read. Apple Podcasts will then pull it via your RSS feed automatically.
For subscriber episodes, you can upload your transcript VTT or SRT file in Apple Podcasts Connect.
Note that at this time, Apple Podcasts only accepts transcripts in English, Spanish, French, and German.